FRED Tutorial
FRED is a graphics program that supports HepRep, a flexible protocol for communicating
Events in High Energy Physics experiments. HepRep represents an Event as two hierarchies:
- Types (with father-child relationships, e.g., a Track, a Hit, or a Geometry Volume)
- Instances (actual objects of a given Type)
Attributes ranging from graphics (how to draw that Type, line color, fill color, etc.) to physics (energy deposited in that hit, material of that volume, etc.) can be attached to each Instance
and/or Type. Note, however, that the more attributes added to a HepRep hierarchy, the
greater the impact on execution time.
Two aspects of HepRep implemented in FRED are:
- Corba middleware - used to create a server-client framework
- XML - used for persistency of events and fast exchange of HepRep hierarchies
Note: The GLAST Gaudi service can output events in HepRep xml files.
Refer to the Gleam Data Flow Diagram and observe that whatever can be put in the
Gaudi Transient Data Store (Gaudi TDS) can also be served a s a HepRep, either as
an xml or as a Corba object, by means of a filler mechanism written based on what
the collaboration decides should be seen in the HepRep graphics client. Developers
can also write their own fillers.
FRED for Geometry Browsing
GLAST geometry is stored in XML files. There are several ways to open HepRep xml files in
FRED, but first we have to have some files to open.
Example Files:
- A two towers geometry from the LAT assembly
- A full LAT tower
- A tracker
- A calorimeter
- The full LAT (try this just to see how slow FRED can be if you try to load thousands
of volumes and represent them)
Note: A package called detCheck is available in the Concurrent Versions System (CVS) that, among other things, can produce a HepRep xml file.
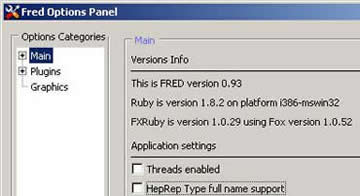
Troubleshooting Tip: If a HepRep file fails to open in FRED, it may be that it is in an older
format (as is the case in the examples above). To open these older files:
|
 |
|
|
Note: By default the HepRep Type full name support box is normally selected (checked).
To open the example files you can either download them to your machine, or not:
|
|
|
Tip: Right click on one of the example files listed above and use the Copy Shortcut command to copy the file's url to the clipboard. |
|
|
|
|
|
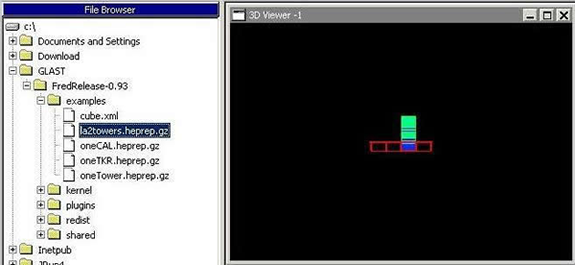
Allow time for the file to execute and observe that the image will be displayed in FRED's 3D Viewer window(s). |
If you choose to download the file(s), there are several ways in which to open the file:
|
Tip: If you are using Internet Explorer, you can right click on any of the example files listed above and use the Save Target As... command to copy the file. |
To open this file, you can:
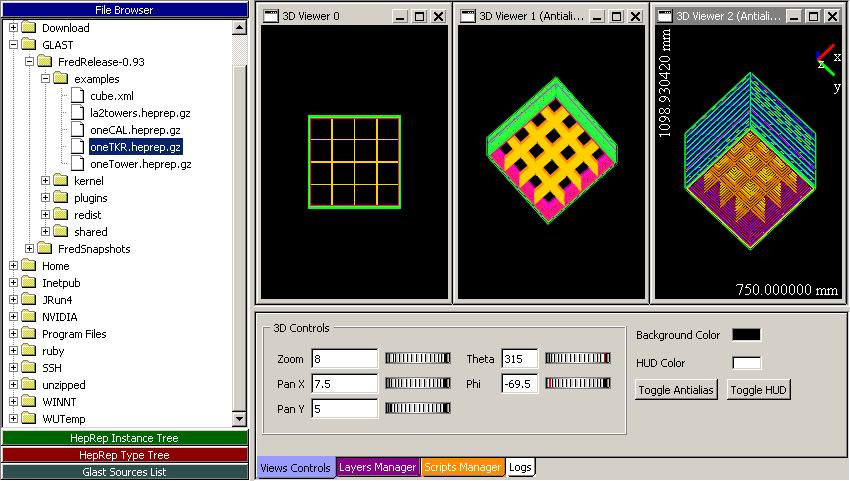
- Option 1. Use the File Browser and simply double-click on it:
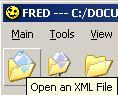
- Option 2. You can also open the file dialog by clicking on: Main --> Sources --> Open File (shortcut Ctrl O).
Note: Due to a bug in the FOX toolkit library we are using, the File Browser currently only displays the local disk where FRED is installed. This is a known bug that will be solved by the authors of FOX in the near future.
|
 |
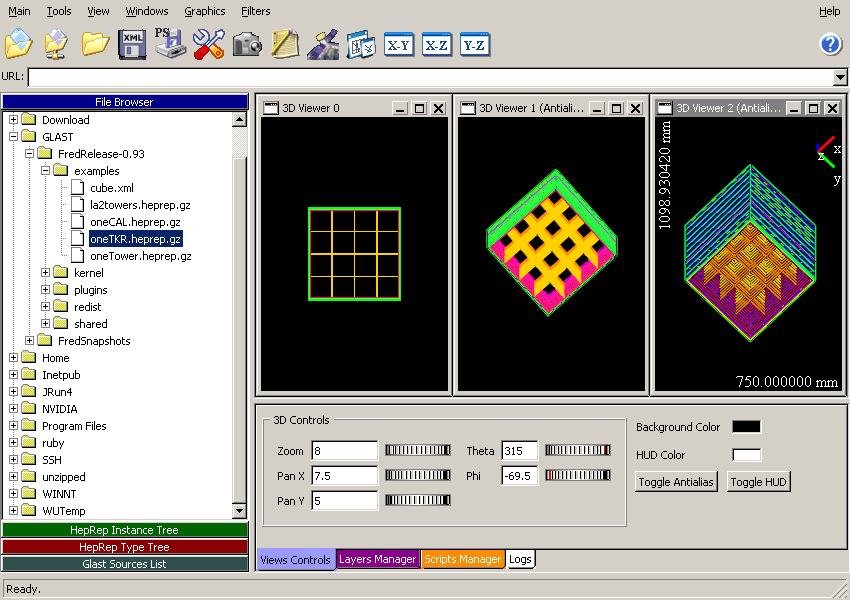
3D Viewer
Once the HepRep file has loaded, it is displayed in a 3D viewer.
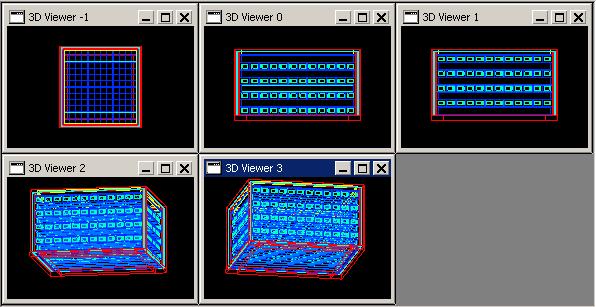
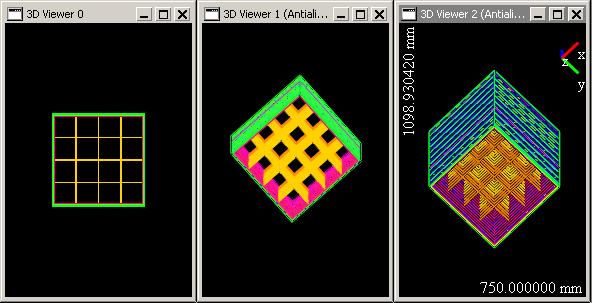
By clicking on the 3D View button![]() , you can add as many views as you want and
, you can add as many views as you want and
arrange the child windows as you like.
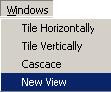 |
You can also add a new view and/or arrange the 3D Viewer windows by selecting the appropriate item from the Windows dropdown menu. |
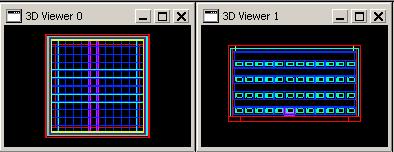
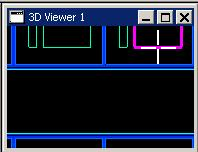
| To orient the 3D Views orthoganally , first click on the image in the viewer that you wish to work with, then |
|
use the X-Y, X-Z, or Y-Z Projection buttons to display the image in the desired orthogonal projection. (See 3D Viewers -1, 0, and 1 above.) |
|
3D Controls
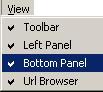 |
To access FRED's 3D Controls, select Bottom Panel from the dropdown View menu. By default, the 3D Controls panel will be displayed. |
 |
|
|
|
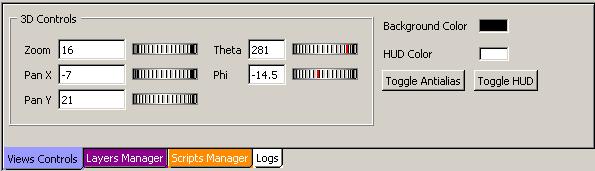
| To manipulate the 3D Views, first click on the image in the viewer that you wish to work with, then use the Zoom, Pan X, Pan Y, Theta, and Phi controls to adjust the image to the desired view. | |
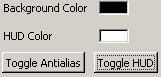 |
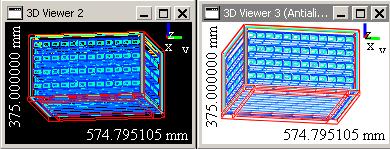
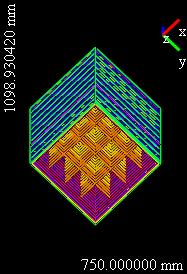
Note that you can also use the Toggle HUD button to display a small 3-axes gizmo in the upper right corner of the view, together with the scale measure for the X and Y axes. As shown below, you can also Toggle Antialias on and off and |
 |
|
To move the 3D view with the mouse: click and hold the left button and move the mouse Tips: The mouse wheel can also be used to zoom in and out. if you happen to have a two-button mouse, you can use the SHIFT key and the left button to emulate the middle button. |
|
HepRep Instance and Type Trees
 |
|
Identify an object in the 3D Viewer
| You can also point to and identify an object in the 3D Viewer: | |
 |
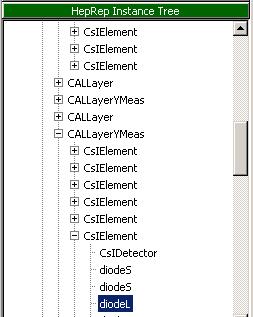
Depress and hold the Ctrl key while pointing to an object in the 3D Viewer. Note that the cursor is depicted as crosshairs and that the attribute is highlighted in the HepRep Instance Tree. |
 |
|
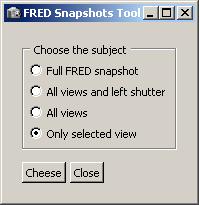
Snapshots
FRED's snapshot functionality provides a quick and easy way to acquire screenshots.
 |
|
- Click on the Cheese button.
- Save the file.
Note: Be sure to include the file format (.bmp, .gif, .jpg, or .png) in the file name.
 |
Full FRED |
 |
All views and left shutter |
 |
All views |
 |
Only selected view |
Export XML and Post Script (PS) Files
XML Files
Fred also has an export XML capability, enabling you to save either the active HepRep file
(i.e., the file being displayed), or the selected Type Tree for the active HepRep file as
.xml files.
- Click on either the HepRep file or the Type Tree you wish to export.
- Then click on Main --> Export --> Save as XML file
(or Save Type Tree as XML file).
Alternatively, you can simply click on the XML button.
- Save the file.
Note: Be sure to include the file format (.xml.gz) in the file name.
Also See:
| Last updated by: Chuck Patterson 11/16/2006 |